What to Do After Stump Grinding: Filling, Seeding & Replanting
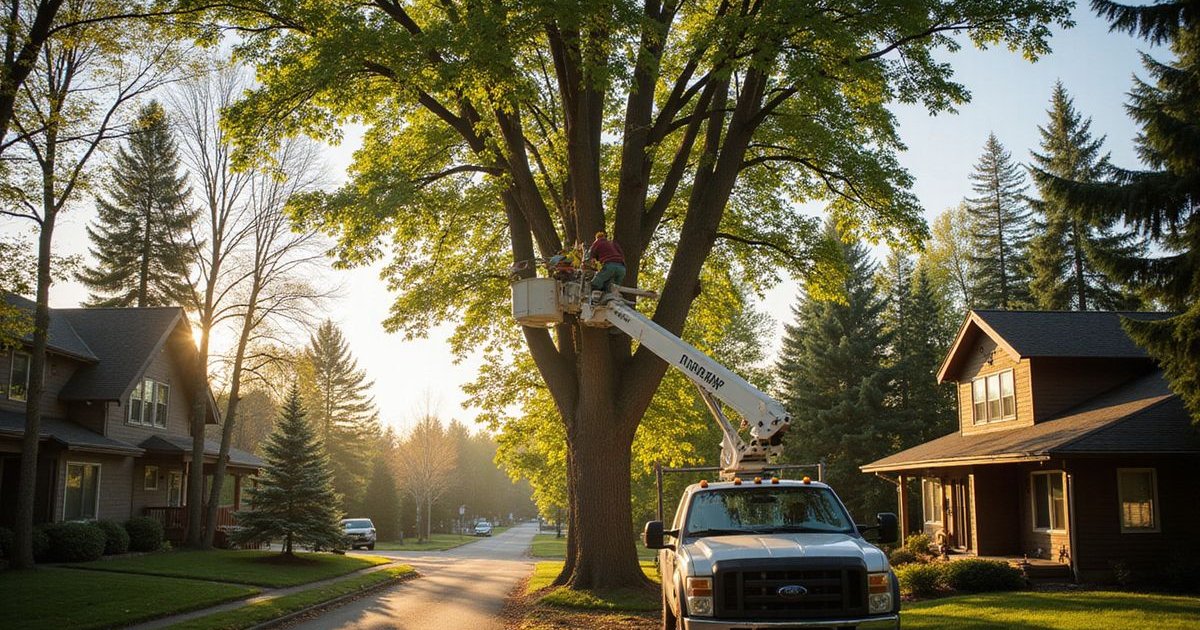
The stump grinder has done its work. The crew has packed up. You are left with a depression in your yard filled with wood chips and shavings.
Now what?
The steps you take after stump grinding determine whether that spot blends seamlessly back into your landscape or becomes a persistent eyesore.
As an ISA Certified Arborist team in Duluth, we walk homeowners through this restoration process regularly. Duluth’s unique soil conditions, short growing season, and harsh winters mean that post-grinding restoration requires specific approaches that differ from warmer climates.
Here is your complete guide to restoring your yard after stump grinding.
Understanding What You Are Working With
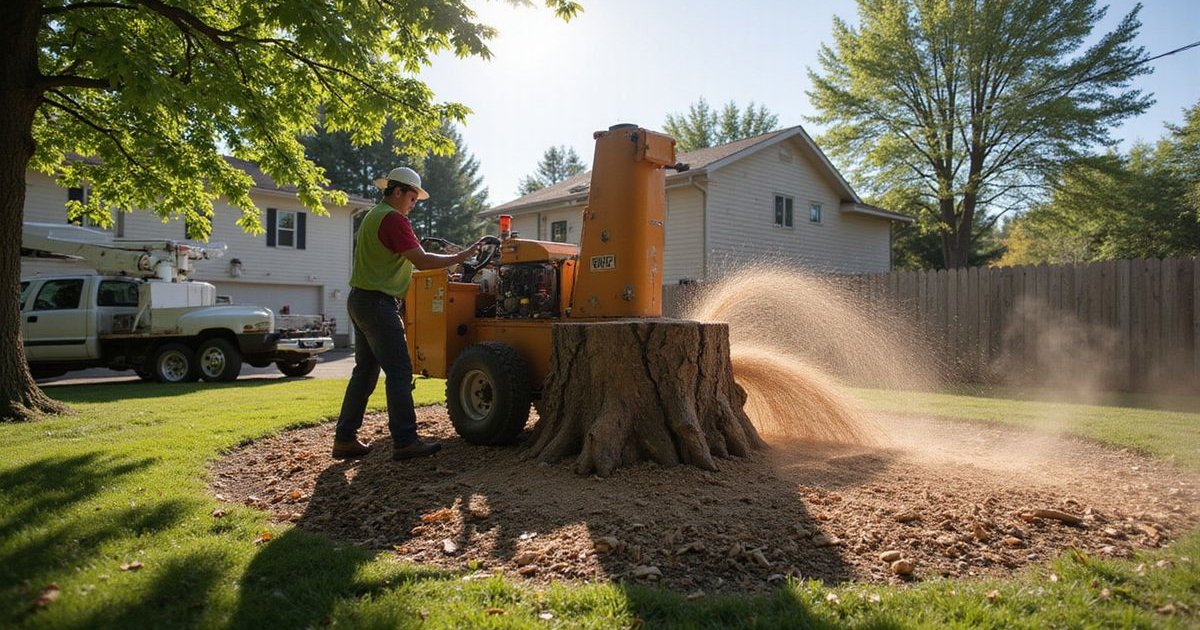
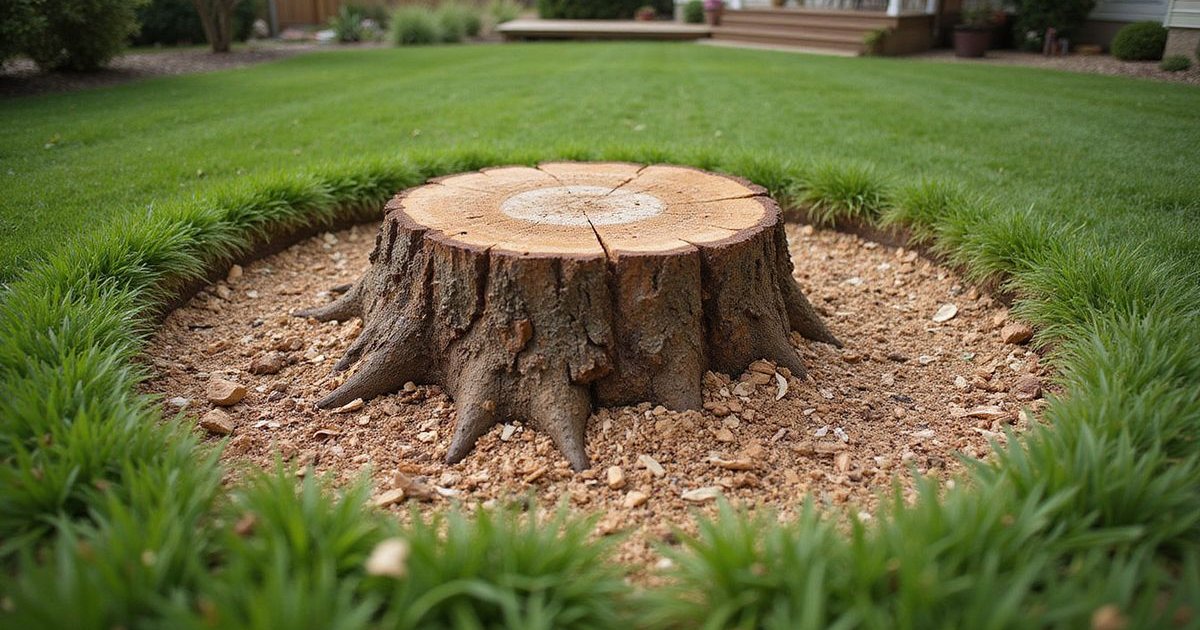
After professional stump grinding, you have a hole typically 6 to 12 inches deep filled with a mixture of wood chips, sawdust, and soil. The size of the hole corresponds to the diameter of the original stump plus any surface roots the crew ground down.
This wood chip mixture is not simply mulch. It contains fresh wood fibers that will undergo active decomposition. Understanding this decomposition process is key to successful restoration because it affects soil chemistry, settling, and plant growth.
The Nitrogen Problem
Fresh wood chips have a high carbon-to-nitrogen ratio, often around 500:1. As soil microorganisms break down this carbon-rich material, they aggressively consume nitrogen from the surrounding soil to fuel their work.
This phenomenon is known as nitrogen tie-up.
It creates a temporary “dead zone” where grass and plants struggle to establish due to nutrient starvation. In Duluth’s cooler climate, this decomposition happens more slowly than in warmer regions. The nitrogen tie-up period can last for 18 to 24 months if the chips aren’t managed correctly.
Planning your restoration approach around this biological reality is essential for good results.
Step 1: Remove Excess Wood Chips
Start by removing a significant portion of the wood chips from the grinding hole. While it might seem logical to leave all those chips in place as fill material, doing so creates distinct problems with fungus and settling.
We recommend raking out approximately two-thirds of the wood chip material.
You can spread these chips in garden beds as mulch, around established trees, or along pathway edges. Wood chips from stump grinding make excellent mulch for tree health maintenance when applied properly in a 2 to 4 inch layer away from tree trunks.

Leave a thin layer of chips (about 1 inch) at the bottom of the hole. This remaining layer will decompose gradually and actually improve the soil structure over time. The key is ensuring it is not the primary fill material.
Tool Selection for Efficiency
Using the right tool saves significant effort during this step.
- Bow Rake (Hard Rake): Use this for the initial heavy lifting to separate large wood chunks from the soil.
- Scoop Shovel: Essential for lifting the bulk material into a wheelbarrow.
- Leaf Rake: Save this for the final cleanup to level the surrounding grass without damaging it.
Step 2: Fill with Quality Topsoil
Replace the removed wood chips with quality topsoil. For Duluth-area projects, we recommend a mixture of screened topsoil blended with compost (often called “garden blend” at local landscape supply yards).
This combination provides good drainage, organic matter for plant nutrition, and a stable growing medium.
The 20% Settling Rule
Soil settles. A common mistake is filling the hole level with the ground, only to find a hazard divot three weeks later.
How to fill properly:
- Layer and Tamp: Add topsoil in 3 to 4-inch layers. Tamp each layer firmly with a hand tamper or your feet. Loose fill can settle by up to 20%, creating a depression.
- Overfill the Area: Mound the soil about 2 to 3 inches above the surrounding grade. Even well-tamped soil will settle over the coming weeks. A slight mound now prevents a depression later.
- Feather the Edges: Blend the edges of the fill area into the surrounding lawn grade to create a smooth transition. Abrupt grade changes look unnatural and make mowing difficult.
Soil amendment tip: Mix a balanced granular fertilizer (10-10-10 or a starter fertilizer with higher phosphorus) into the top 4 inches of your fill soil. This counteracts the nitrogen tie-up from any remaining wood chip material and gives new grass seed a nutrient boost.
Duluth Soil Considerations
Duluth’s native soil tends to be rocky and clay-heavy, particularly in the hillside neighborhoods. If your native soil is heavy clay, use a lighter topsoil mix for the fill area to improve drainage.
Properties in the sandy areas near Park Point and along the lakefront benefit from a soil mix with higher organic content. Peat moss or compost additions help these sandy soils retain the moisture new grass needs to survive.
Step 3: Seeding or Sodding
For most Duluth homeowners, seeding is the preferred approach for restoring a stump grinding area. Sod is an option but can be tricky over areas with remaining subsurface wood that continues to decompose.
Best Grass Seed for Duluth
Choose grass seed varieties suited to Minnesota’s USDA Zone 3b to 4a climate. We use specific blends depending on the light conditions of the stump area.
| Grass Type | Best For | Key Characteristic |
|---|---|---|
| Kentucky Bluegrass | Full Sun | Creates a dense, self-repairing sod but germinates slowly (21-28 days). |
| Fine Fescues | Shade / Partial Sun | Tolerates lower light and poor soil; requires less fertilizer. |
| Perennial Ryegrass | Erosion Control | Germinates very fast (5-7 days) to stabilize soil while other grasses establish. |
For shaded spots where the stump was under a canopy of remaining trees, a shade-tolerant mix heavy on creeping red fescue is your best choice. For full sun areas, a quality Kentucky Bluegrass blend provides the most durable and attractive result.
Seeding Timeline
Timing your seeding correctly is critical in Duluth’s short growing season.
Late August to mid-September is the ideal seeding window for our area. Soil temperatures are warm enough for germination, fall rains provide natural moisture, and the grass has several weeks to establish before frost. If your stump grinding was completed in July or August, this timing works perfectly.
Mid-May to early June is the secondary window. Spring seeding works but carries more risk because summer heat and drought stress can challenge new seedlings before they are fully established.
Avoid seeding from mid-June through early August. Hot, dry conditions make establishment difficult. Also avoid seeding after October 1 in the Duluth area. There is simply not enough growing time before winter dormancy sets in.
Seeding Process
- Rake the topsoil surface to create a fine, smooth seedbed.
- Spread seed at the recommended rate (typically 3 to 4 pounds per 1,000 square feet for new seeding).
- Lightly rake the seed into the top quarter-inch of soil.
- Apply a thin layer of straw mulch or erosion control blanket to retain moisture and prevent seed washout.
- Water lightly but consistently. Keep the seedbed moist until germination occurs (7 to 21 days depending on species and temperature).
Step 4: Ongoing Maintenance
The first few months after restoration require some attention to ensure success.
Watering is the most critical factor. New grass seed needs consistent moisture for the first 3 to 4 weeks. Water lightly once or twice daily to keep the seedbed moist without creating puddles. Once grass is established, transition to deeper, less frequent watering (about 1 inch of water per week).
Mowing should wait until the new grass reaches 3 to 4 inches tall. Set your mower high for the first few cuts. Remove no more than one-third of the blade length at a time. This encourages root development and stress tolerance.
Watch for settling. Over the first year, the area may settle as subsurface wood material decomposes. If a depression develops, add a thin layer of topsoil and overseed. This is normal and may need to be repeated once or twice during the first two years.
Fertilize lightly in the fall with a winterizer fertilizer formulated for northern lawns. This strengthens root systems before Duluth’s long winter and promotes early spring green-up.
Replanting a New Tree
Many homeowners want to plant a new tree where the old one stood. This is a natural impulse, but timing and placement matter.
When to Plant
Wait at least one full growing season before planting a new tree in the exact spot where a stump was ground. The decomposing wood material below the surface creates unstable soil conditions and nitrogen competition that can stress a young tree during its critical establishment period.
If you want to plant sooner, offset the new tree at least 3 to 5 feet from the center of the old stump location. This places the new root ball in undisturbed soil while still utilizing the general area.
Choosing a Replacement Tree
When selecting a replacement tree for your Duluth property, consider species that thrive in our northern climate. For recommendations on trees well-suited to our area, check out our guide on the best trees to plant in Duluth.
A few general guidelines for replacement tree selection:
Diversify species. If the removed tree was an ash lost to the emerald ash borer, do not plant another ash. Choose a different species to improve your landscape’s resilience against species-specific pests and diseases.
Consider mature size. Select a tree whose mature dimensions fit the available space. A common mistake is planting a tree that will outgrow its location within 15 to 20 years. This leads to another removal cycle.
Match site conditions. Pay attention to sunlight, soil drainage, wind exposure, and proximity to structures. Properties near Lake Superior experience different microclimate conditions than those on the hilltop or inland areas of Duluth.
Planting Tips for Success
When planting in or near a former stump location:
- Dig the planting hole at least twice the width of the root ball and to the appropriate depth. The top of the root ball should be level with or slightly above grade.
- Remove any remaining large wood chunks or root pieces from the planting area.
- Backfill with native soil amended with compost. Do not use pure compost or potting soil, as this discourages roots from spreading into the native soil.
- Mulch with 2 to 4 inches of wood chips in a ring around the tree. Keep mulch 3 inches away from the trunk to prevent rot.
- Water deeply at planting and maintain regular watering through the first two growing seasons.
Alternative Uses for the Stump Grinding Area
Not every stump grinding site needs to become lawn. Here are some popular alternatives Duluth homeowners choose:
Garden bed. The area often has improved soil from the decomposing organic matter. After proper filling and amendment, it can become a productive flower or vegetable garden.
Patio or hardscape. If the area is suitable, it can become the base for a paver patio, fire pit, or other hardscape feature. Ensure the fill material is compacted thoroughly and allow adequate settling time before installing hardscape.
Native plant area. Consider establishing a small native plant garden with species like wild bergamot, black-eyed Susan, or native sedges. These plants are adapted to our local conditions and provide habitat for pollinators.
When to Call a Professional
Most post-grinding restoration is straightforward and manageable for handy homeowners. However, there are situations where professional help is warranted.
Watch for these warning signs:
- Significant settling or sinkholes: If deep holes develop after initial filling, it may indicate the stump was not ground deeply enough or that large root channels are collapsing underground.
- Persistent drainage problems: Pooling water in the filled area may require regrading or drainage solutions.
- New tree planting challenges: Slopes, tight spaces, or areas with utility conflicts benefit from professional guidance.
If you have questions about your stump grinding site restoration or need help with any aspect of the process, Northshore Tree Service is here to help.
We serve Duluth, Hermantown, Proctor, and North Shore communities with expert tree care including tree trimming and pruning and tree health treatment.
Contact us for a consultation.
Need Professional Tree Service?
Call our ISA Certified Arborist for a free estimate. Serving Duluth, MN and the North Shore.
Call (218) 555-0391